New Script: LocalFuzzyHistogramHyperbolization

Hi,

This will work in general. This is one of the ideas I have tested to apply LFHH to a color image, but I am still searching for the best method. The results are extremely dependent on the color distribution of the target image - so just try it!  :D

Frank
 
Hi Alejandro,

Thanks again for sending me that image. The analysis of it was a really helpful exercise!

First, coming to these troubles at the right side of your image. That has nothing to do whether the image is linear or nonlinear. I had the same troubles with some more powerful parameter settings for the nonlinear image. The fact is that there are stacking artifacts on your image, at the bottom but especially an edge of two pixels at the right side! These artifacts lead to that strange results for the the LFHH algorithm and the impact of them is higher for a linear image than for a nonlinear one. This is the reason why you only recognized them for the linear image. But the main massage is:

Remove all stacking artifacts before applying LFHH!

After cropping the image, I got fine results - even at the borders of the image!

Image.jpg


The other finding from this analysis was a deeper understanding why the script doesn?t work for linear images. Predominantly, the image improvement you achieved for the linear images doesn?t depend on LFHH. In fact it is effect of the automatic HistogramTransformation included in the script. After unchecking this option you will see the real effect of the LFHH algorithm on a linear image. The underling problem is that the implemented membership functions are not aggressive enough to stretch a linear image. This is an important issue for the further improvement of the script! Thus your comments were really helpful.  :) Thank you for that!

Cheers,
Frank
 
Thank you very much Frank!

FrankW said:
The fact is that there are stacking artifacts on your image, at the bottom but especially an edge of two pixels at the right side! These artifacts lead to that strange results for the the LFHH algorithm and the impact of them is higher for a linear image than for a nonlinear one. This is the reason why you only recognized them for the linear image. But the main massage is:
Remove all stacking artifacts before applying LFHH!
After cropping the image, I got fine results - even at the borders of the image!
Perfectly clear now, I didn't realize the two pixels column at the right side. By the way, it is a single uncalibrated image of a friend that I used only for testing.

I will continue testing

Saludos, Alejandro.
 
Hi friends,
I have a problem installing the auto-update with this script.
I have installed it, but it is not visible in the "script" --> "utilities" menu (and any other "script" menu).
I'm able to execute it only via "Script" --> "Execute script file".
What can I do, to make it visible in the "script" --> "utilities" menu??
 
grztus said:
I have installed it, but it is not visible in the "script" --> "utilities" menu (and any other "script" menu).
I'm able to execute it only via "Script" --> "Execute script file".
What can I do, to make it visible in the "script" --> "utilities" menu??

That sounds strange! Have you already tried  "Script" --> "Feature Scripts..." --> "Regenerate"?
 
Thanks Frank for a great script. Like everything in PI it took a while to tune the settings but it works really well after Masked Stretch, TGVDenoise and with a good star mask. I have been doing some wide field Ha images of some of the big Sharpless objects and it works very well on these as hopefully this sample of Sharpless 131 shows

Chris
 

Attachments

  • 1711 - Sharpless 131 - 3.5nmHa - Upload.jpg
    1711 - Sharpless 131 - 3.5nmHa - Upload.jpg
    410 KB · Views: 116
FrankW said:
That sounds strange! Have you already tried  "Script" --> "Feature Scripts..." --> "Regenerate"?
It wasn't listed there (I have another computer with PI and LFHH installed, so I had a comparison).

I solved the problem in other way:
After I've checked "Script" --> "Feature Scripts..." --> "Regenerate" and saw, that there is no LFHH, I have started the PI 1.8.5 installer, chosen "Repair" and execute it.
After repair, I've started the PI and got notification, that I have 16 new updates (there was also LFHH) - I've chosen all of them, made an update and closed PI.
After closing PI there was a new notifiaction with information about installing new updates, I have chosen "restart PI" and now everything is OK, the LFHH is in the script "utilities" menu.

During the first installation of the LFHH update, I did't chose "restart PI" and I've shutted down the system after closing PI. Probably that was the point where I've made a mistake.
 
chris.bailey said:
it took a while to tune the settings but it works really well after Masked Stretch, TGVDenoise and with a good star mask

Hi Chris ,

It?s really a great image! Yes, tuning the settings is always a cumbersome job. :-[ When I wrote the script, I faced the choice that the script works more ?automatically?. But the characteristics of astronomical images can vary in a wide range and I belief that finally only the user can decide what is the best result from an image process. And your image shows that the effort will be worthwhile. :smiley:

Frank
 
Love this script!  I recently processed an Ha only version of the area around the flame nebula with the script.  I found that if the stars were removed prior to running the script, I got excellent results.  I found this easier than creating a star mask with the star exactly the right size.  I then added the stars back in.  Here is the processed version.

Best,
Jon Talbot
Flaming-Star-Region_Ha_LFHH_50.jpg
 
Jon,

that' s a great image! And it's a really interesting idea how to handle the 'star problem'. Can you give a brief description how you remove and add the stars.

Cheers,
Frank
 
I used LFHH to enhance starless Ha and Oiii data to produce this CTA 1 image in the gallery: https://pixinsight.com/forum/index.php?topic=12015.0  It's a very useful script!

There are probably quite a few posts on the forum about star removal.  Here's a recent one: https://pixinsight.com/forum/index.php?topic=11879.msg73080

Cheers,
Rick.
 
Hi Frank,
I basically followed a technique similar to the link Rick posted.  My technique wasn't quite as involved, or as good, as what is in the link however it seemed to work just fine.
Again, thanks for a great script.

Best,
Jon
 
Jon, Rick,

Thank you very much. I tried the method and I am really excited.  :D  At the moment I work on an update of the script to apply LFHH to color images and even use the algorithm for stretching linear images. I am not sure if I can include your method in the script but it is a great hint anyway.

To give you an impression how the update works, I attached one of my test images. For this image of the Pelican Nebula most of the contrast enhancement was achieved with LFHH. I hope I will finish the work in the next weeks.

Cheers,
Frank

IC%205070.jpg
 
Hello,

As already announced in the forum, in the last weeks I worked on an update of the LFHH script. Today, I am pleased to present some significant improvements and enhancements to the script. These cover the following topics:


Membership functions
On the one hand I added the MTF function as an additional membership function and also the possibility of normalization for the Sigmoid function. But the most important innovation, however, is a membership function with which you can stretch linear images. The script was originally intended only for contrast enhancement, but the discussion with Alejandro Tombolini in the forum gave me the idea to deal with stretching as well.
When looking for a suitable membership function for the stretching, I was inspired by one of the PixelMath tutorials by Gerald Wechselberger. I adapted the idea of ?masking? the MTF function and developed a special membership function for the use with LFHH. Although PixInsight already has a number of excellent processes for image stretching, the results with the new membership function - I called it ?Masked MTF? - were so convincing that I absolutely had to include it in the script. Apart from this I think that's a good opportunity to thank Gerald for his excellent tutorials!

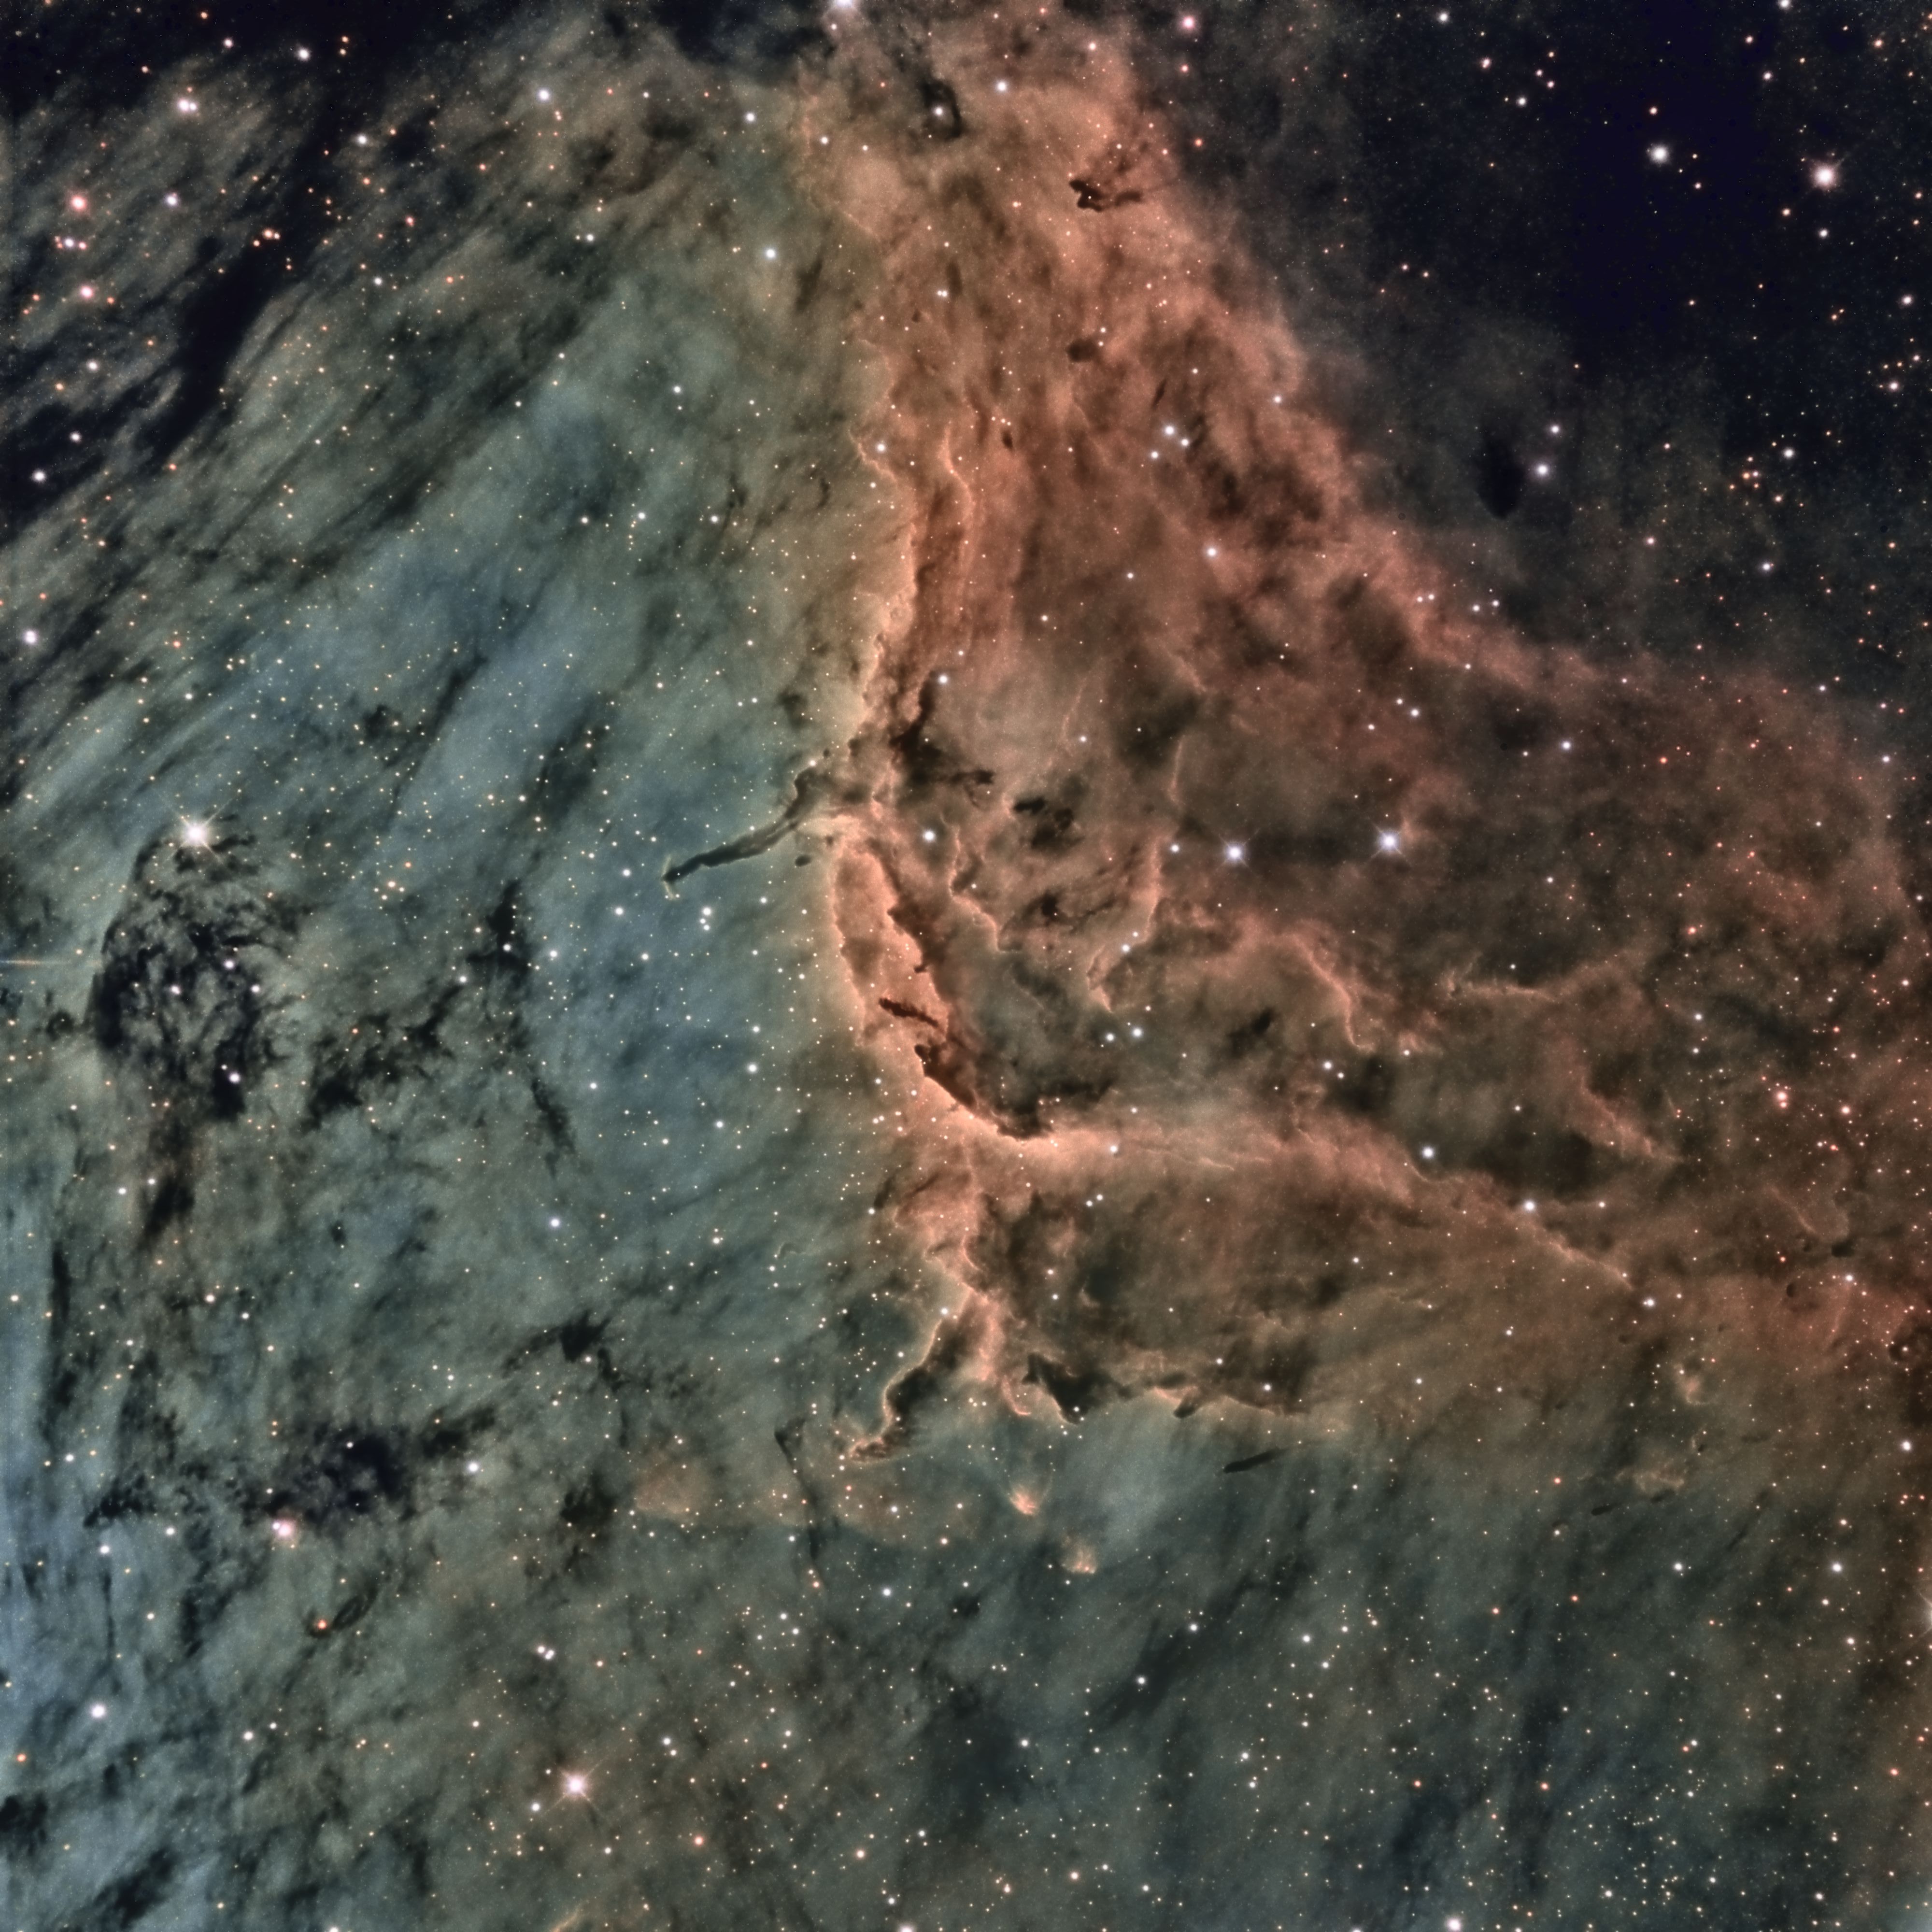
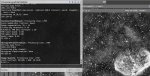
Here is an example: the first image is stretched with AutoSTF, the second one with the new Masked MTF function.

img_IC410HT.jpg


img_IC410LFHH.jpg


I did a lot of testing with the new feature and I achieved really good results with it. I would be interested in further experiences. With appropriate feedback, I would invest more work in the development of this functionality.


Extrapolation algorithm for the image borders
This feature is not visible, but still a significant improvement of the program. Even if all marginal errors, such as stacking artifacts, were removed in the target image, the old version of the script occasionally had problems with the interpolation of the segments at the image borders. By improving the algorithm, these problems could be resolved on all critical test images. The algorithm is now much more robust.


Color images
Basically, I think contrast enhancement should be applied to the luminance component of an image. Nevertheless, the question arises, how to treat color images. I already described a possibility in the forum: extract the L component from the RGB image, then apply LFHH to the L image and merge it back to the RGB image using LRGBCombination. Another possibility I have now implemented in the script. There the individual colors are modified in the same ratio as the underlying L component.

Here is an example: the target image, contrast enhancement with extracted L component and direct application of the script.

img_IC410_SHO.jpg


img_IC410_SHO_LRGBC.jpg


img_IC410_SHO_LFHH.jpg


Although the masked MTF function gives good results for color images, it is still not capable for rationally stretching linear RGB images. The script has a check routine, if a processing of an RGB image leads to meaningful results. Basically, the existing stretching processes like MaskedStretch or ArcsinhStretch are better suited for this.


Documentation of parameters
In my numerous tests, I came across the problem of reconstructing the script parameters at a later date. Although the selected parameters have been displayed in the console output so far, this information is lost after a reboot. Therefore, in the new version, all parameter data are stored in the FITS header of the resulting image.


You can read everything about all the new functionalities in the revised documentation you can download together with the updated script from the following link: 

https://www.dropbox.com/sh/75ky9j7tj2r08w9/AADMs4zYfUruqSPi7pQ54rFxa?dl=1


I hope you like the new features and I would be happy to receive comments and suggestions for further improvement.

Kind regards,
Frank
 
Win 10, fully updated copy of PI. I used the script for the first time. I found that the command window never released back to Ready, even after the new image had been created and the script had apparently stopped running. I was able to exit out of the script.
 
Hello Charles,

It's the first time I hear of a problem with the script. Can you please send me the console output of the script.

Kind regards,
Frank
 
This looks normal. It is intended that the console will be left open after completing the calculations to view the log. The console does not close until you press the script's EXIT button. (As long as a script is open, no other process can be started anyway.)
During the calculation, all input fields and buttons turn gray, after the run they all become active again. If that happens, everything is ok.
 
Back
Top