NGC 6914 with Calar Alto Observatory: Processing Notes
By Vicent Peris (OAUV/CAHA/PTeam)
Introduction
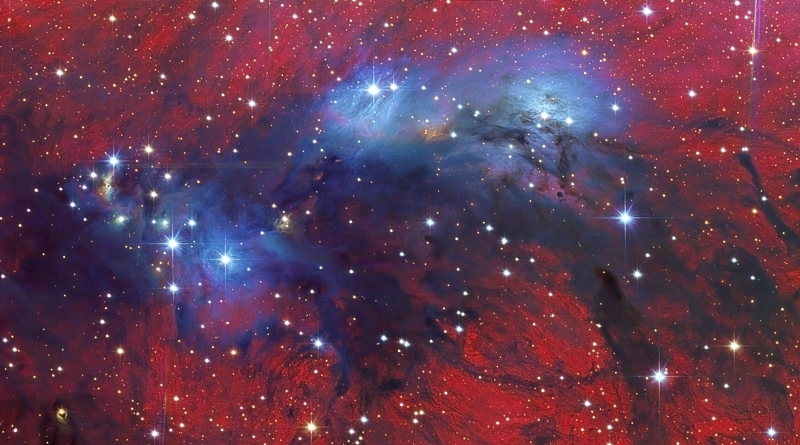
Click to download a full-resolution image.
Image Caption and Credits: Image of the NGC 6914 nebular complex in Cygnus, from the Documentary Photo Gallery of Calar Alto Observatory (RECTA/CAHA/DSA). Vicent Peris (DSA/OAUV/PTeam), Jack Harvey (DSA/SSRO/PTeam), Juan Conejero (DSA/PTeam). Entirely processed with PixInsight 1.6. Click on the image to download a full-resolution version (image scale: 0.5 arcsec per pixel)
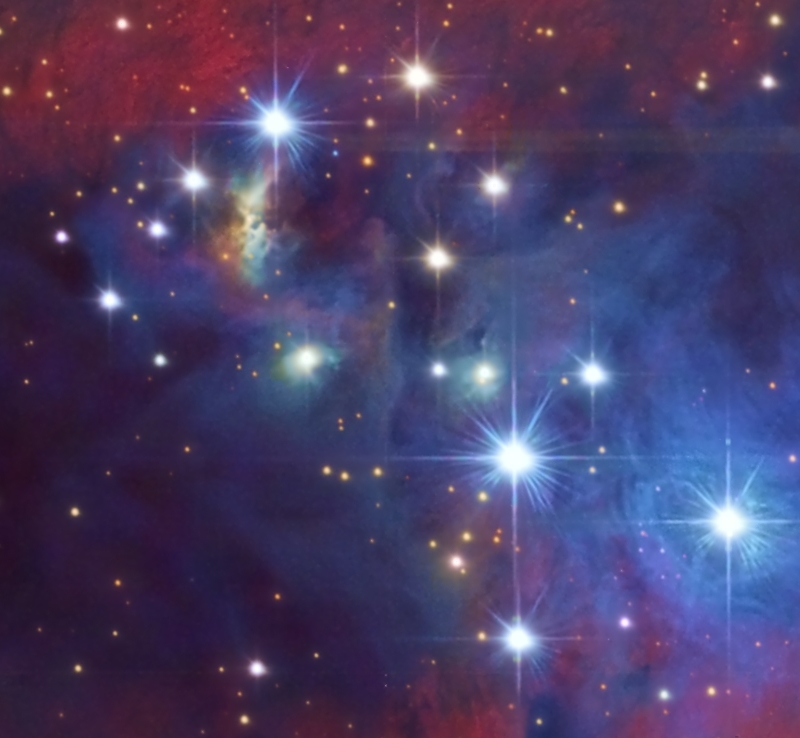
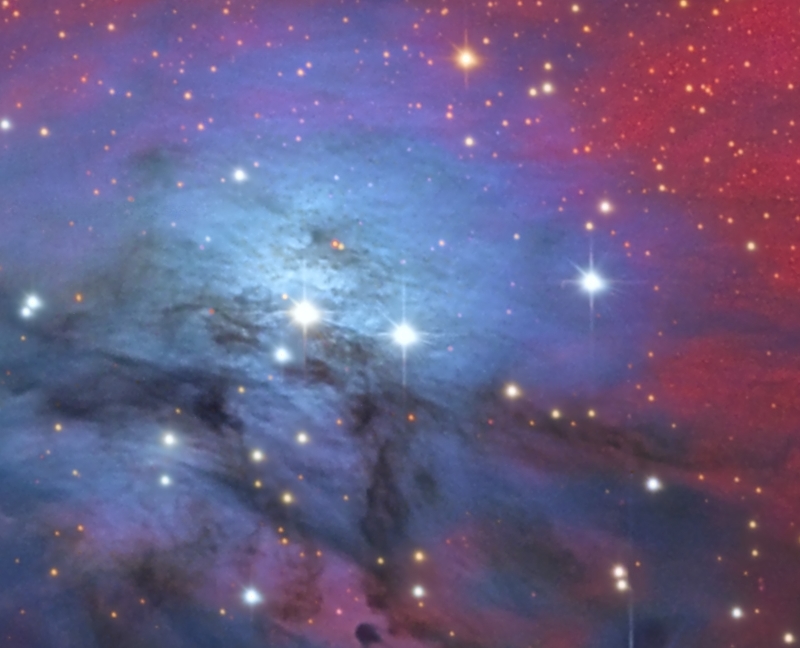
In this document we describe some key processing techniques applied to the released image of NGC 6914, made at Calar alto Observatory with the 1.23 meter Carl Zeiss telescope. It is a two-panel mosaic with a field of view of 27×15 arcminutes, and has a total exposure time of 23 hours with broadband RGB and narrowband 7 nm Hα filters, all from Baader Planetarium.
This image has allowed us to improve some of our image acquisition and processing techniques, as well as finding new ones that will be implemented in future versions of the PixInsight platform. In this article we'll briefly review these techniques, some of them requiring more detailed descriptions:
- Blooming suppression through observational techniques.
- Multiscale approach to the image integration process that allowed us to better reject outliers while minimizing degradation of signal to noise ratio.
- Observational and processing mosaic assembly techniques to compose the two-panel mosaic.
- Hα emission isolation and enhancement.
- Dynamic range compression techniques applied to small-scale, high-contrast structures.
Blooming Suppression
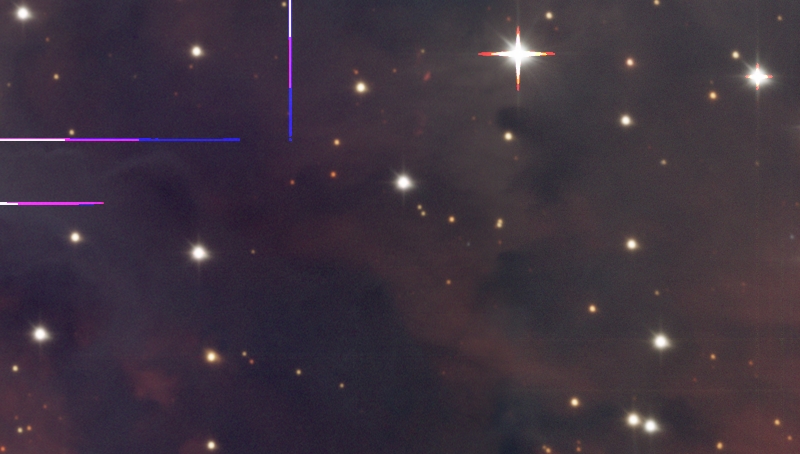
As usual in all the professional astronomical observatories, the CCD camera of the CAHA's 1.23 meter telescope has no antiblooming gate. Therefore, photographing star forming regions becomes problematic, as we always have bright stars that saturate quickly the large 24-micron photosites of the CCD sensor. Moreover, the long readout time of the camera electronics (three minutes for a non-binned image) force us to make long subexposures, in order to minimize observational overheads. The usual scenario is shown in Figure 1.

Figure 1— A 20-minute raw linear image of NGC 6914 through the R filter.
We prefer correcting bloomings without using any software-based deblooming tool. Therefore, we used observational techniques. Our data acquisition run was splitted in two parts, rotating the camera 90 degrees in the second one. In this way we have two data sets where the blooming orientation is changed, allowing us to recover the real data on the saturated pixels.
We made three different integrations for each color channel: two integrations from the data sets with each blooming direction (Figure 2), and one with the whole data set.
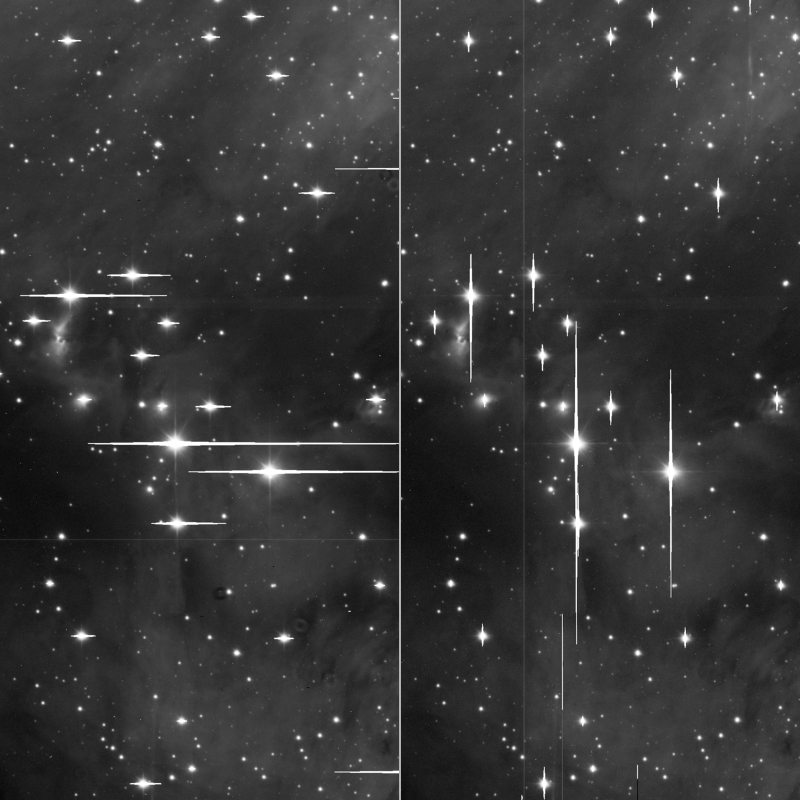
Figure 2— The camera was rotated in order to have two data sets with orthogonal blooming directions. Here we can see one R frame from each data set.
To suppress the bloomings we integrate the whole data set and, through a mask selecting the saturated regions, we put over the bloomings the minimum value of each data set, as can be seen in Figure 3.
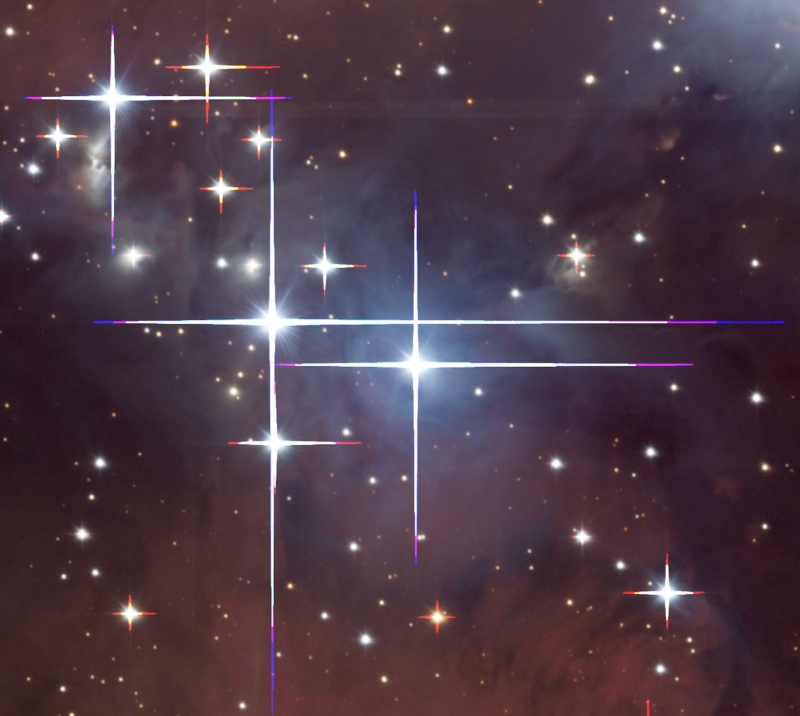
Figure 3— Blooming suppression procedure. A blooming mask is used to perform a minimum operation between the two partial data sets. After processing, only small traces of bloomings can be seen on the images; which can be cloned out easily.
Mouseover
[Integration of the whole data set]
[Image after blooming suppression]
[Bloomings mask]
Multiscale Image Integration
The readout time of the CCD electronics is very long, thus limiting the acquisition of sky flats to only 6 to 8 frames per night. Therefore, we use the same sky flats for the whole, multi-night observational run. Although filters are not removed from the filter wheel, some of the dust grains 'travel' during the run, as can be seen on Figure 4.
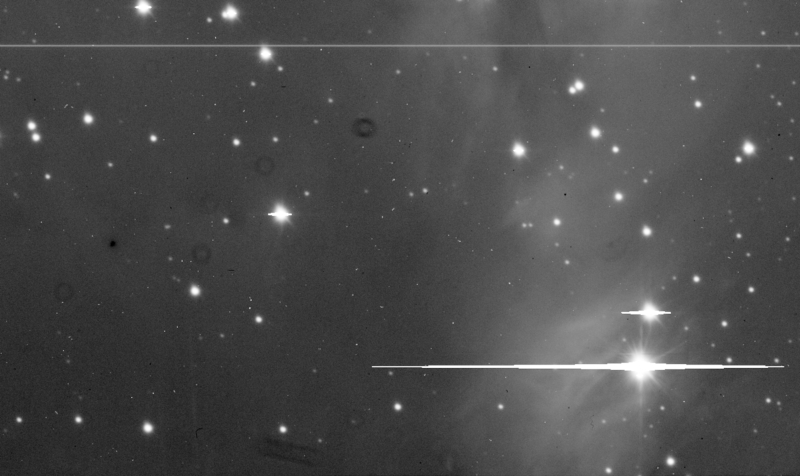
Figure 4— In these two uncalibrated images we can see how some of the dust shadows change their positions over the CCD sensor.
Mouseover
[B filtered image 1]
[B filtered image 2]
Image calibration generates artifacts if any dust shadow moves between the times of the sky flat frame and light frame acquisition. In some frames, this can be quite serious (Figure 5).
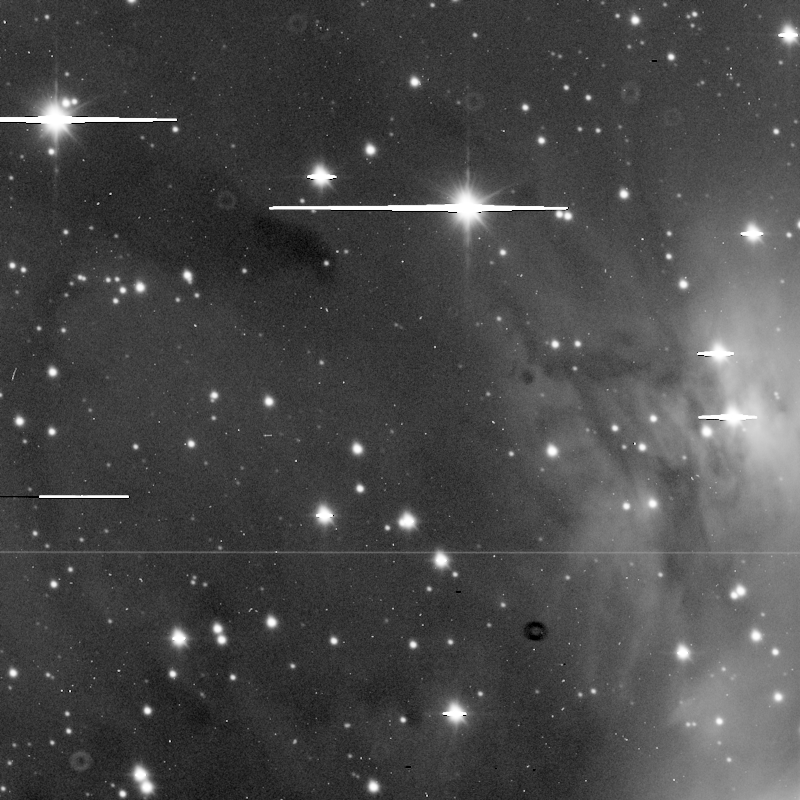
Figure 5— Calibrated 20-minute exposure through the G filter.
Although we use dithering between frames, it is usually very hard to completely remove these calibration artifacts because they are larger than the dithering radius. Therefore, a very restrictive outlier rejection is needed for the image integration process, which seriously damages the signal to noise ratio of the resulting image.
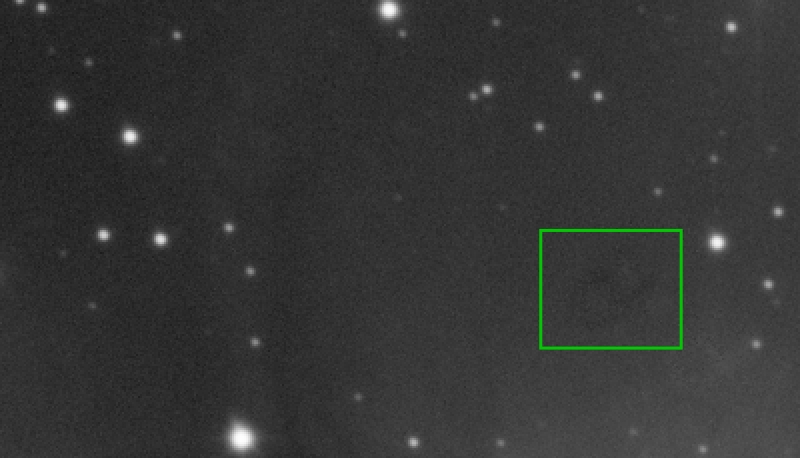
Figure 6— Even after a highly restrictive outlier rejection, traces of the calibration artifacts are left on the image.
Fortunately, all the moving dust grains are on the same plane above the CCD detector, so they all have approximately the same shape. In the image on Figure 7 we can see that they are more significant on 4-pixel and larger scales.

Figure 7— Wavelet decomposition of the dust shadow. While it is nearly invisible at 1-pixel and 2-pixel scales, it is much more significant starting from the 4-pixel layer.
This allows us to isolate the wavelet layers where the dust shadows become problematic from the rest of the data. Therefore, we made two different image integration processes for each filter data set: one including all the scales and another one including only from the 4-pixel scale and above. After the image integration processes, the 1 and 2-pixel scales of the first result were added to the second one. This process, which will be implemented in future releases of PixInsight, allows for a better rejection of outlier structures (as opposed to outlier pixels), yet preventing excessive signal to noise ratio degradation in the resulting image.
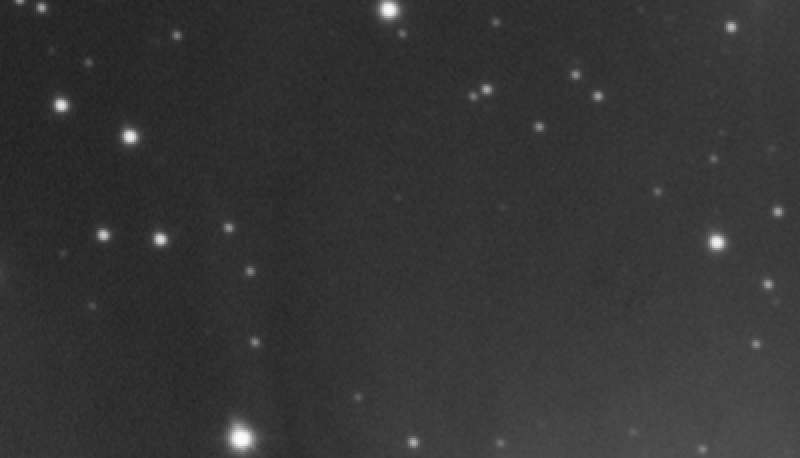
Figure 8— The multiscale image integration process provides a cleaner result and better signal to noise ratio than a usual integration, even if we use highly restrictive outlier rejection in the latter. In both cases, the same rejection algorithm has been used (percentile clipping).
Mouseover
[Multiscale integrated image]
[Integrated image without scale separation]
Mosaic Assembly (I): Superflats
With this image we have developed two techniques to overcome the difficulties posed by the mosaic composition. These techniques, which will be further explained in future articles, are focused on correcting calibration errors coming from the flat frames that lead to multiplicative or additive gradients.
The first technique is the use of superflats. Supeflats are additional flattening frames acquired directly from the dark sky. Their goal is correcting as much as possible the residual gradients coming from the application of the regular flat field frame.
The Zeiss 1.23 meter telescope at CAHA has flat fielding problems that arise from the huge field of view of the optical system. The baffling system allows the entrance of a large amount of stray light, as it cuts the light path only outside the 30 cm diameter focal plane.
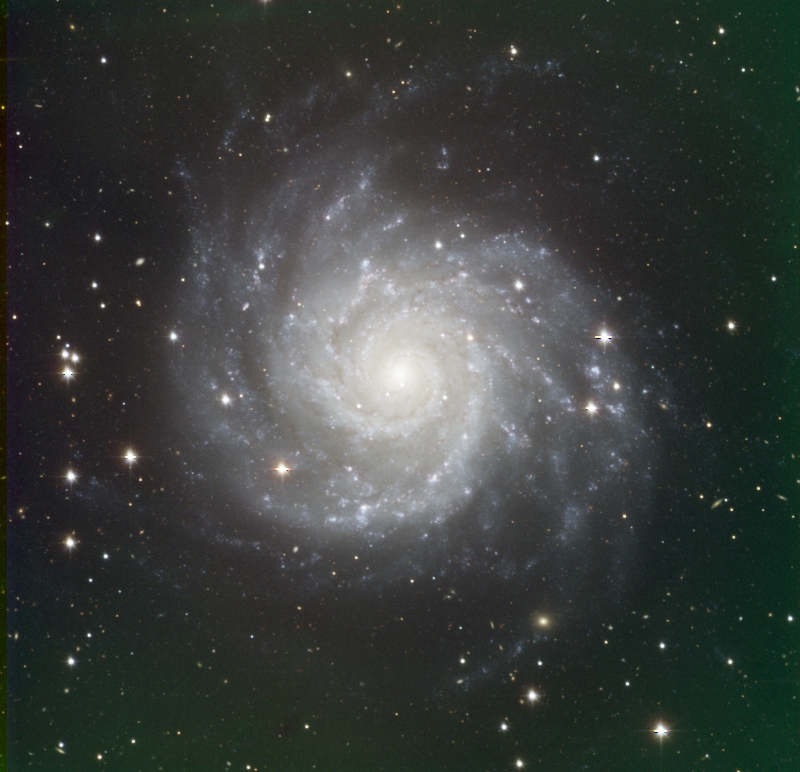
Figure 9— Residual gradients after a regular flat field calibration in an image of Messier 74 acquired with the Zeiss 1.23 meter telescope.
The use of this technique allowed us to make a much better assembly of the mosaic frames. In Figure 10 we can see a comparison of the mosaic before and after superflat calibration.

Figure 10— Superflat correction of overlapping key mosaic frames. Left: before superflat correction. Right: after superflat correction.
This comparison shows how superflats correct what we call the key frames: strategic single mosaic frames for which the superflat correction is optimized. Once we have superflattened these key frames, we use them to derive the gradients in the final combined image.
Mosaic Assembly (II): Panel Adaptation
Superflat techniques provide a good approximation to fixing mosaic panel seams. But this correction is not perfect in the final image. In first place, when gradients are derived in the combined image, we are not able to correct for both additive and multiplicative gradients at the same time. On the other hand, the combined image has a much higher signal to noise ratio, which makes even the tiniest error well visible.
Therefore, the final mosaic assembly needed a further adaptation of the panels. This was done with the DynamicBackgroundExtraction tool. The idea is to adapt one panel to the residual gradients of the other panel in the overlapping area of the image. This is done is three different steps:
First, with the two registered panel images, we do a division between them in PixelMath, using the following expression:
Panel_1/(Panel_2*2)
This formula normalizes the pixel values of Panel_1 by the pixel values of Panel_2. We need to set the normalization level to 0.5 because PixInsight works within the numeric range from zero to one. Therefore we need to multiply Panel_2 by a factor greater than 1 (2, in this case).
Figure 11— The result of dividing both mosaic frames. The overlapping area has values around the normalization level 0.5. Mouse-over the image to see a contrast stretched version, where you can see the residual differential gradients between both images.
The second step is to model these gradients. We'll place normal DBE samples on the overlapping area and fixed DBE samples with the normalization value 0.5 over the rest of the image. The fixed samples will work as control points to force a neutral model where gradient modeling is not required. All the protection parameters of DBE must be set to their more permissive values, because we need to perfectly model the flux variation of the objects between both images. In fact, we are not modeling background sky data here, but object data.

Figure 12— DBE samples over the calculated image.
 Figure 13— Contrast enhanced version of the DBE generated model. Mouse-over the image to see only the area where the model adapts both mosaic panels. The standard deviation on the overlapped area of the model is only 0.36% in R (the highest dispersion color channel); although this is a very small error, it must be adapted between both panels to achieve a perfect match between them in the final mosaic image.
Once we have modeled the residual gradients, we apply the model by multiplying Panel_1 by the model and by the inverse normalization factor:
Panel_1 * Model * 2
Figure 14— The seam is completely corrected after applying the DBE residual gradient model. Mouse-over to see the seam between both images, before DBE correction.
Dynamic Range Micro-Compression
Multiscale dynamic range compression algorithms are less effective on the smaller scales because in small-scale layers the objects are usually not well represented by the wavelet decomposition. This is particularly true when we have high-contrast, small-scale structures such as stars.
The proposed method, still under development, directly addresses the problems that arise in these scenarios. It is driven through the HDR Wavelet Transform algorithm, iteratively compressing the dynamic range of the smaller scale wavelet layers. The result is added to the original image through a mask that selects the areas of interest.
Figure 15— The image before the dynamic range micro-compression. Mouse-over to see the result after applying the HDR Wavelet Transform algorithm with two layers and four iterations.
Figure 16— The image after applying the dynamic range micro-compression. Mouse-over to see the image before this process.
Figure 17— Same area as Figure 16 at 200% zoom. Mouse-over to see the image before the dynamic range micro-compression process.
